Electrical Inspection Checklist for Home Buyers
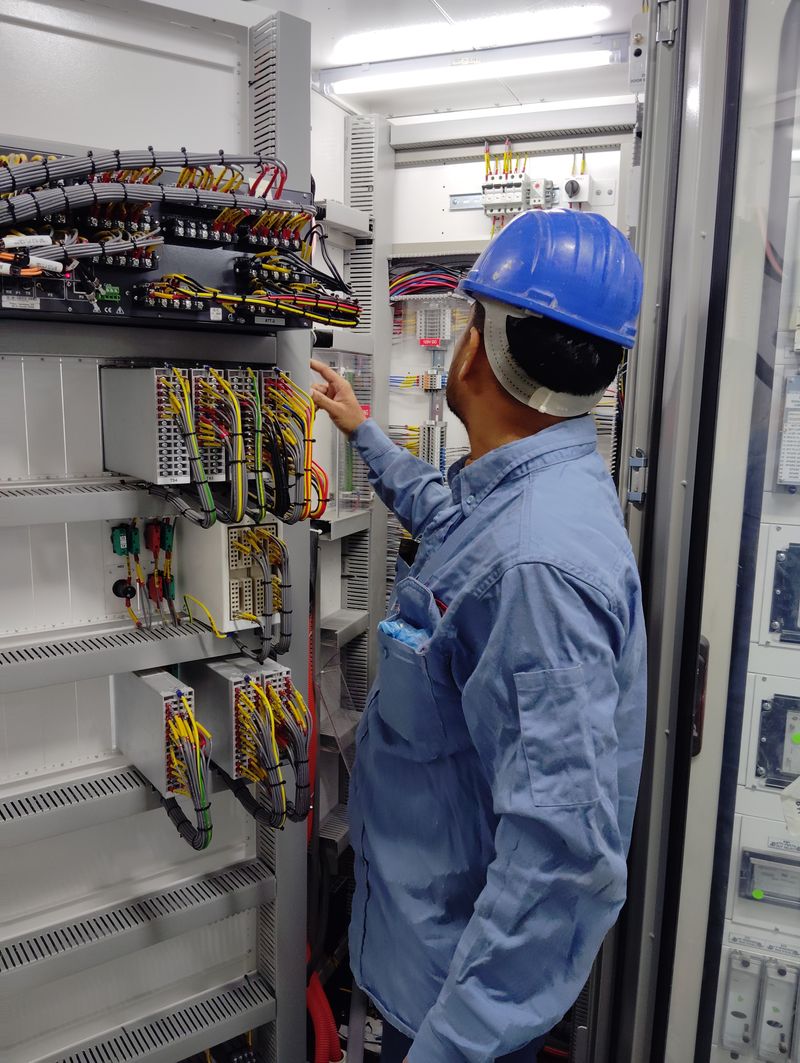
The electrical system is one of the most expensive and least visible components of a home. A home inspection addresses electrical concerns, but most general inspectors only evaluate what’s readily visible — they’re not licensed electricians. Understanding what to look for before buying saves you from expensive surprises after closing.
This guide covers the key electrical items to investigate, red flags that warrant specialist evaluation, and how to use this information in negotiations.
Why Electrical Matters in a Home Purchase
Electrical problems are:
- Expensive to fix: Full rewiring of a 2,000 sq ft home can cost $15,000–$40,000
- Hidden: Most of the electrical system is inside walls — inspectors and buyers see only the panel, outlets, and visible wiring
- Safety-critical: Electrical faults cause approximately 44,000 house fires annually in the US (NFPA)
- Insurance-relevant: Some wiring types or panel brands can make homeowner’s insurance difficult to obtain or significantly more expensive
Doing your electrical due diligence before purchasing protects your family and your investment.
The Main Panel: Start Here
The electrical panel is the most informative single location for evaluating the electrical system.
Panel Capacity
What size service does the home have?
- 60A service: Very old home, almost certainly inadequate for modern loads. Plan for a service upgrade.
- 100A service: Adequate for most smaller homes without electric heat, EV charging, or large appliances. Borderline for modern expectations.
- 150A or 200A service: Standard for modern homes. 200A is the preferred standard.
- 400A service (split meter): For large homes or homes with significant supplemental loads.
How to check: The main breaker amperage is labeled on the breaker itself. The service entrance conductors’ wire gauge also indicates service size.
Panel Brand and Model
Several panel brands have documented reliability and safety issues:
Federal Pacific Electric (FPE) / Stab-Lok: Produced from approximately 1950 through 1980. FPE Stab-Lok breakers have been documented to fail to trip under overload conditions — a serious fire safety concern. The Consumer Product Safety Commission investigated FPE and found significant problems. Many electricians and inspectors recommend replacement of any FPE Stab-Lok panel.
Zinsco / Sylvania GTE: Similar vintage and similar problems. Breakers in Zinsco panels can overheat and fuse to the bus bar in a way that prevents proper operation. Many insurance companies refuse coverage for homes with Zinsco panels.
Pushmatic / Bulldog: A distinctive circular pushbutton design. The breakers work differently from modern toggles and have documented failure issues. Less common than FPE/Zinsco.
ITE / Siemens: ITE panels from before Siemens’ acquisition have some compatibility issues with modern breakers but don’t have the same safety record concerns as FPE or Zinsco.
Acceptable panels: Square D, Eaton, Leviton, Siemens (post-ITE), Cutler-Hammer (Eaton), Milbank, and other major modern brands have good reliability records.
If you see a Federal Pacific or Zinsco panel, budget for replacement — typically $2,500–$5,000 for a panel replacement with service upgrade if needed.
Panel Condition
Inside the panel (with the cover on — don’t open it yourself), evaluate:
- Is the panel properly sealed with no open knockouts or missing circuit directory?
- Are there signs of rust, corrosion, or moisture intrusion on the exterior?
- Is the panel overcrowded (breakers stacked, multiple wires on single terminals)?
- Does the wiring look organized or chaotic?
Double-Tapping
“Double-tapping” refers to two circuit wires connected to a single breaker terminal. Most breakers are designed for one wire per terminal (check the breaker listing). Double-tapping creates a loose connection risk. It’s a common violation in older homes and one that inspectors specifically look for.
Panel Labeling
Is the circuit directory filled out accurately? An unlabeled panel is a minor inconvenience in routine use but a significant time-waster when locating circuits for work or during emergencies.
Wiring Type
Copper vs Aluminum Branch Circuit Wiring
The presence of aluminum branch circuit wiring (common in homes built 1965–1973) is a significant finding. See the dedicated aluminum wiring article for full details, but in brief:
- Aluminum branch circuit wiring requires specific handling and remediation
- Every connection point (outlet, switch, fixture) needs copper pigtails with appropriate connectors
- Some insurance companies require disclosure and may have coverage conditions
How to check: At the panel, look for silver-colored conductors at breaker terminals. At outlet boxes, open a cover and examine the conductor color.
Knob and Tube Wiring
Pre-1950 homes may have knob and tube wiring. See the dedicated K&T article for full details. Key points:
- No ground conductor
- Aged insulation may be deteriorated
- Cannot be buried in insulation
- May require disclosure to insurer
How to check: Attic and basement inspection. Look for ceramic knobs on framing and separate conductors (not cables) with cloth or rubber insulation.
NM-B Cable (Modern)
Standard residential wiring from the 1970s onward. Yellow 12/2, white 14/2, and orange 10/2 are the most common configurations. This is what you want to see in a modern home.
Grounding
Grounded vs Ungrounded Outlets
Three-slot outlets (with the D-shaped ground slot) indicate a grounding conductor is present in the circuit — a good sign. Two-slot outlets indicate either an old wiring system without grounds (K&T, early post-war wiring) or that grounds were never added.
Outlet tester: A simple plug-in tester screens for a limited set of common wiring patterns. It cannot certify correct wiring or grounding, and its light chart is model-specific. Read the outlet tester meanings and limitations guide before recording results throughout the house.
The GFCI trick: In homes with ungrounded outlets, it’s code-compliant to install GFCI outlets labeled “No Equipment Ground.” If you find GFCI outlets in areas where you’d expect standard outlets, this may indicate ungrounded wiring that’s been corrected the minimum-required way. It’s code compliant, but reveals the underlying wiring.
Grounding Electrode System
The panel should have a properly installed ground — either a driven ground rod (or two), connection to metal water piping, or both. Modern panels use both methods (water pipe ground and ground rod). Ask the inspector to verify the grounding electrode is present and properly bonded.
GFCI and AFCI Protection
GFCI
GFCI protection is required in kitchens, bathrooms, garages, basements, outdoors, and other wet/damp locations. Use an outlet tester to verify GFCI protection:
- Test every outlet in kitchen (countertop), bathrooms, garage, and any exterior outlets
- Press TEST on a GFCI receptacle — the outlet should go dead. Press RESET — it should restore.
- A non-GFCI outlet in a location where GFCI is required is a code violation to be corrected
AFCI
AFCI (arc fault circuit interrupter) protection has been progressively required in more circuits since 1999. Modern requirements cover bedrooms, living rooms, kitchens, and more. An older home that hasn’t been updated won’t have AFCI protection — this is typical and expected. Adding AFCI is part of a general electrical update.
Specific Areas to Check
Kitchen
- GFCI on all countertop receptacles
- At least two 20A circuits for countertop appliances (check breakers for 20A kitchen circuits)
- Dedicated circuits for refrigerator, dishwasher, and range (verify at panel)
- Range hood vented to exterior
Bathrooms
- GFCI on all receptacles
- At least one 20A circuit for bathroom receptacles
- Correct fixture types over tub/shower (damp or wet location listed)
Exterior
- GFCI on all outdoor receptacles (test them)
- Weatherproof in-use covers on outdoor outlets
- Service entrance in good condition (no exposed conductors, no damaged weatherhead)
- Exterior lighting fixtures appropriate for outdoor use
Basement and Garage
- GFCI on all outlets
- Panel location is accessible with proper clearance (30 inches wide × 36 inches deep in front of panel)
- No combustible storage against the panel
Attic
- No K&T wiring buried in insulation
- Electrical boxes not buried or inaccessible under insulation
- No splices outside of boxes
Lighting
- All fixtures have covers
- No missing bulbs (missing bulbs can indicate a dead circuit or just a burned-out bulb — check)
- Dimmer switches work through full range without flickering
Red Flags That Warrant a Licensed Electrician’s Inspection
The general home inspector identifies concerns but may not quantify their severity or cost. Request a specialist electrical inspection if you find:
- Federal Pacific (Stab-Lok) or Zinsco panel
- Active knob and tube wiring
- Aluminum branch circuit wiring
- Evidence of DIY electrical work (mismatched wire colors, wire nuts outside boxes, open splices)
- Double-tapping at multiple breakers
- Outlets that fail the outlet tester
- Any burning smells or discoloration at outlets or panel
- Outlet tester shows reversed polarity on multiple outlets
A specialist electrical inspection typically costs $200–$500 and provides a written report with prioritized findings and cost estimates — worth every dollar before committing to a purchase.
Using Electrical Findings in Negotiation
Cost Calibration
Common electrical repair costs:
| Issue | Typical Cost Range |
|---|---|
| Panel replacement (100A→200A) | $1,500–$3,500 |
| FPE/Zinsco panel replacement | $2,000–$5,000 |
| Aluminum wiring remediation (pigtailing) | $1,500–$5,000 |
| Full home rewiring (2,000 sq ft) | $15,000–$35,000 |
| GFCI upgrades throughout | $300–$1,000 |
| Adding AFCI breakers | $200–$800 |
| Smoke detector/CO detector installation | $200–$500 |
Negotiation Approaches
Request a credit at closing: Instead of requiring the seller to do the work, request a credit equal to the estimated repair cost. This gives you control over the contractor and timing.
Request the work be completed: For safety-critical items (FPE panel, active K&T), requiring completion before closing gives you assurance the hazard is remediated.
Walk away: If the electrical scope is extensive and the seller is unwilling to negotiate, walking away may be the correct financial decision.
Printable Home Buyer Electrical Checklist
Use this during your walkthrough:
Panel:
- Panel brand (note if FPE/Stab-Lok or Zinsco)
- Main breaker amperage (100A / 150A / 200A)
- Double-tapping present? (Y/N)
- Panel labeled accurately? (Y/N)
- Rust, corrosion, or moisture signs? (Y/N)
Wiring:
- Conductor color at panel (copper/aluminum?)
- Knob and tube visible in attic or basement? (Y/N)
- Wiring appears original or updated?
Outlets:
- Outlet tester results in kitchen
- Outlet tester results in bathrooms
- Outlet tester results in basement/garage
- GFCI present in all wet/damp locations? (Y/N)
General:
- All fixtures covered
- No burning smell or discoloration anywhere
- Smoke detectors present and functional (Y/N)
- CO detectors present (Y/N)
- Exterior outlets weatherproof and GFCI (Y/N)
The electrical system is worth evaluating carefully before purchasing any home — especially older homes or homes with visible deferred maintenance. A few hundred dollars for a specialist inspection can save you from a five-figure surprise in the first year of ownership.

Amperage HQ Editorial Team
Independent trade-focused editorial team