How to Bend EMT Conduit: 90-Degree, Offsets, and Saddles
Quick answer
For an EMT stub-up, subtract the take-up printed on your exact bender from the desired stub height, align that mark with the arrow, and bend to 90 degrees. For an offset, multiply the rise by the angle multiplier to find the spacing between bends. Verify every mark and shrink value against the bender's own instructions before bending the project conduit.
Source note: Updated August 7, 2026. Formulas are planning aids, not a substitute for the markings and instructions supplied with the exact bender. Electrical installation, fill, support, pull-point, grounding, permit, and inspection requirements must be checked separately.
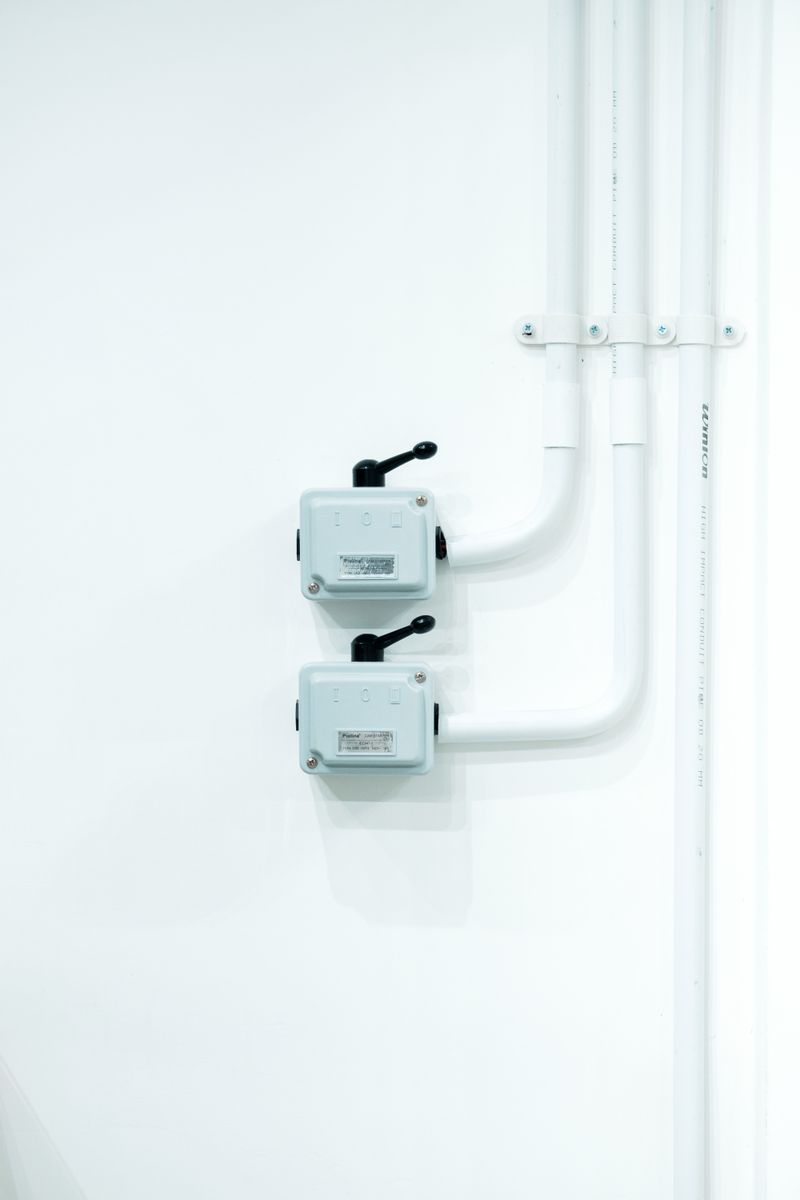
Accurate EMT bending starts with three facts: the conduit trade size, the exact bender’s markings, and the finished distance you need. Do not assume take-up, saddle shrink, or reference marks are identical across benders. Read the label or instruction sheet first, then practice the complete layout on an unoccupied piece of conduit.
EMT Bend Cheat Sheet
| Bend | Calculation | Marking check |
|---|---|---|
| 90-degree stub-up | Desired stub − bender take-up | Arrow at the calculated mark |
| Two-bend offset | Rise × angle multiplier = distance between marks | Keep both bends in the same plane |
| Back-to-back 90s | Use the bender’s back-of-90/star procedure | Confirm whether the dimension is to the back or centerline |
| Three-point saddle | Use the bender maker’s shrink and outside-mark method | Test on scrap; saddle conventions vary |
Work-scope warning: Bending empty EMT is not authorization to modify a wiring system. De-energization, conductor installation, box fill, conduit fill, support, grounding, total bends between pull points, wet-location fittings, permits, and inspections all require separate attention under the adopted code and local rules. Homeowners should use a licensed electrician where required.
Tools You’ll Need
Conduit Bender
The conduit bender is the primary tool. Each bender is sized for a specific conduit trade size — a 1/2” bender is not compatible with 3/4” conduit, and vice versa.
Choose a bender explicitly labeled for the EMT trade size you are using. Check that its arrow, star, rim notch, degree marks, and take-up are legible before buying or borrowing it. A mechanical or powered bender may be more appropriate for larger trade sizes or repeat production, but its procedure and deductions will differ from a hand bender.
Measuring Tools
- Tape measure: 25-foot minimum
- Conduit level: For checking horizontal and vertical runs
- Pencil or Sharpie: For marking bend points on conduit
Support
You need a flat surface or a leg to stabilize the conduit while bending. An open floor area or a conduit bending vise works well. Most electricians simply bend on the floor or against a wall.
Understanding Your Bender
Every conduit bender has several reference marks on the head and/or shoe:
- Arrow mark: Aligns with your pencil mark on the conduit for 90-degree stubs; indicates where the bend begins
- Star mark (or ★): For back-to-back 90s and certain offset calculations
- Degree marks: Graduated marks from 10° to 90° showing bend angle
- Reverse bend notch: On the back of some benders, used for offset starting points
Spend time understanding the marks on your specific bender before attempting any complex bends. The bender’s instruction sheet describes how each mark is used.
Bend 1: The 90-Degree Stub-Up
The 90-degree stub is the most common bend — used to bring conduit up from a floor run to a box, down from a ceiling to a connection, or around a corner.
Key Terms
- Stub length: The length of the vertical portion after the bend (the “stub”)
- Developed length: The amount of conduit consumed by the bend itself (you must account for this when marking)
- Take-up: How much the bend “takes up” from your mark to the back of the 90 (this is what you subtract from the stub length when marking)
Take-Up Values
The values below are common hand-bender examples, not universal settings. Use the take-up cast, stamped, or printed on your exact bender when it differs.
| Conduit Size | Take-Up |
|---|---|
| 1/2” EMT | 5” |
| 3/4” EMT | 6” |
| 1” EMT | 8” |
| 1-1/4” EMT | 11” |
How to Make a 90-Degree Stub
Example: You want a 12-inch stub up (measured from the floor to the center of the box).
-
Calculate the mark location: Stub length - Take-up = Mark location from end of conduit
- 12” stub - 5” take-up (for 1/2” EMT) = 7” from the end
-
Mark the conduit at 7” from the end.
-
Place the conduit in the bender with the mark aligned to the bender’s arrow mark.
-
With the conduit resting on the floor, place your foot on the bender foot and pull back on the handle until the bubble level in the handle reads level, or until the angle indicator shows 90°.
-
Remove the conduit — the stub should measure 12” from the back of the 90 to the end.
Pro tip: The 90° is correct when the conduit lies flat and the stub is perfectly vertical. Check with a level.
Bend 2: The Offset
An offset moves conduit sideways or up/down while continuing in the same general direction. Offsets are used to go around obstacles like other conduit, pipes, or structural members.
Offset Terminology
- Rise: The vertical or horizontal distance the conduit needs to move (the size of the obstacle)
- Spread: The distance along the conduit run occupied by the two bends
- Bend angle: The angle of each of the two bends that make up the offset
Offset Formulas
The relationship between offset rise, bend angle, and spread:
Spread = Rise × Multiplier
| Bend Angle (each bend) | Multiplier |
|---|---|
| 10° | 6.0 |
| 22° | 2.6 |
| 30° | 2.0 |
| 45° | 1.4 |
| 60° | 1.2 |
For a standard offset around a 3” obstacle using 30° bends:
- Spread = 3” × 2.0 = 6 inches
This tells you the two bends should be 6 inches apart on the conduit.
How to Make an Offset
Example: Offset 3” over an obstacle using 30° bends, starting 18” from the end of the conduit.
-
Mark the conduit at 18” from the end (the first bend point).
-
Calculate the second bend point: 18” + 6” (spread) = 24” from the end.
-
Make the first bend at 18”: place the bender’s arrow at the 18” mark and bend to 30°.
-
Rotate the conduit 180° around its long axis.
-
Make the second bend at 24”: place the bender’s arrow at the 24” mark and bend to 30°.
-
The result should be a smooth offset that travels 3” sideways (or up/down) and continues in the original direction.
Important: After the first bend, the conduit is no longer flat. You must rotate it 180° before the second bend so both bends work together.
Bend 3: The Three-Point Saddle
A saddle bend allows conduit to go over an obstacle (like another conduit crossing its path) while the surrounding runs remain level. The three-point saddle uses three bends.
Saddle Bend Angles
The standard saddle:
- Center bend: 45°
- Two outer bends: 22.5° each (or 22° depending on bender graduation)
Shrinkage
A saddle consumes some of the straight run, so the finished end lands short unless the layout accounts for shrink. Published shrink factors depend on the saddle angles and marking convention. Use the factor and direction shown for your exact bender rather than a generic obstacle-height table.
How to Make a Three-Point Saddle
Example: Saddle over a 1” pipe that is 24” from the end of the conduit.
-
Mark the center of the obstacle location on the conduit: 24” from the end.
-
Find the three-point-saddle shrink and outside-mark spacing specified by the bender manufacturer for the chosen angles. Do not substitute the 90-degree take-up value.
-
Apply that documented shrink correction to the centerline location in the direction specified by the bender instructions.
-
Lay out the two outside marks at the manufacturer’s spacing from the adjusted center mark.
-
Make the center bend and the two matching outside bends in the sequence shown for that bender, keeping all three bends in one plane.
-
Check the saddle against a same-height scrap block before taking it to the installation. Recalculate rather than forcing a saddle that lands off-center.
Back-to-Back 90s
When conduit must turn a corner and the run continues in a perpendicular direction, two 90s are joined back-to-back.
The technique uses the bender’s star (★) mark for the second 90:
- Make the first 90 as described above.
- Measure the desired distance from the back of the first 90 to the back of the second 90.
- Align the star (★) mark on the bender with the mark on the conduit for the second bend.
- Bend to 90°.
The star mark accounts for the developed length of the first bend.
Common Bending Mistakes
Overbending
Going past 90° on the first bend. Fix: You can push a slightly overbent 90 against the floor to open it. Prevention: Watch the angle marks carefully and stop at exactly 90°.
Kinking
Occurs when the conduit slips in the bender or you apply force unevenly. Fix: Cut out the kinked section and start again. Prevention: Ensure the conduit is properly seated in the bender shoe before applying pressure, and apply smooth, even force.
Twisted Offset
The two bends of an offset not in the same plane, causing the conduit to twist. Fix: Pay careful attention to rotating 180° (not any other amount) before the second bend. A simple check: when you hold the completed offset vertically with the first bend down, the second bend should be directly above the first.
Dog-Leg
A 90° bend that isn’t exactly 90° — caused by not bending far enough. Use the bubble level in the bender handle or a separate level to verify perpendicularity.
Conduit Bending Practice Tips
Start with scrap conduit. Buy an extra 10-foot stick and practice all your bends on scrap before working with your actual run lengths.
Develop feel. After making several 90s, you’ll develop a feel for how much force is needed and when the conduit has reached 90°. This muscle memory is how electricians bend accurately and quickly.
Use the floor to your advantage. For 90° stubs, standing the bent conduit on the floor and checking that the stub is vertical is the simplest accuracy check.
Mark your bender. If you regularly use the same bender, make note of which marks work reliably for your specific bender model (manufacturers’ marks can vary slightly).
Check your work before cutting. Cut to final length only after verifying the bends are correct — you can always trim but you can’t add conduit back.
Conduit bending is one of those skills where the investment in practice time pays off immediately in installation speed and quality. A well-bent conduit run looks professional, runs straight, and makes a strong impression on any inspector or building owner who sees the finished work.
Sources and Update Note
This guide was updated on August 7, 2026 to put the formulas first, remove time-sensitive tool prices, add a work-scope warning, and replace a universal saddle-shrink example with the exact-bender method. Consult the instructions for your bender, the adopted edition of NFPA 70, National Electrical Code, and OSHA electrical safety resources as applicable. Manufacturer markings and local requirements control when they differ from a general example.
Connect the bend layout to a code-ready conduit plan
These resources help verify conduit type, code context, permit questions, and safe handoff after practicing the bends.
- EMT conduit fill chart
Calculate conductor capacity before treating a bent raceway as ready for a wire pull.
- Electrical conduit types compared
Confirm that EMT fits the location, exposure, and installation constraints.
- NEC code basics
Review how adopted code editions and local rules shape the finished installation.
- Permits and inspections
Check who may perform the work and what the inspector will need to see.
- Electrician handoff checklist
Record visible route, box, panel, permit, and load details without opening energized equipment.

Amperage HQ Editorial Team
Independent trade-focused editorial team