Set screw vs. compression EMT fittings: How to choose
Quick answer
Choose an EMT fitting by its listing and markings, not by set-screw or compression appearance alone. Standard set-screw and compression fittings can suit listed dry-location work; a wet location needs a fitting specifically listed or identified for wet or raintight use, and concrete embedment needs the exact concrete-tight rating and installation method.
Common questions
- Are all compression EMT fittings raintight?
- No. Standard compression and raintight compression fittings are distinct products. Use a fitting whose listing, catalog data, and required package or product markings identify it for wet-location or raintight use.
- Can set-screw EMT fittings be used outdoors?
- Do not assume a standard set-screw fitting is acceptable outdoors. An outdoor location exposed to weather is a wet location and needs fittings identified for that use; verify the exact product, enclosure entry, adopted code, and local approval.
- Are compression EMT fittings better than set-screw fittings?
- Not universally. Both can make a listed mechanical and electrical connection when the exact product suits the location and is installed correctly. Set-screw fittings can be faster where wrench clearance is limited, while compression fittings need room for proper gland-nut tightening.
Source note: Published August 28, 2026. This guide uses NFPA 70 requirements and current Eaton, ABB, UL Solutions, and Steel Tube Institute information. Always follow the code edition adopted by the local authority having jurisdiction (AHJ), product instructions, project specifications, and inspection requirements.
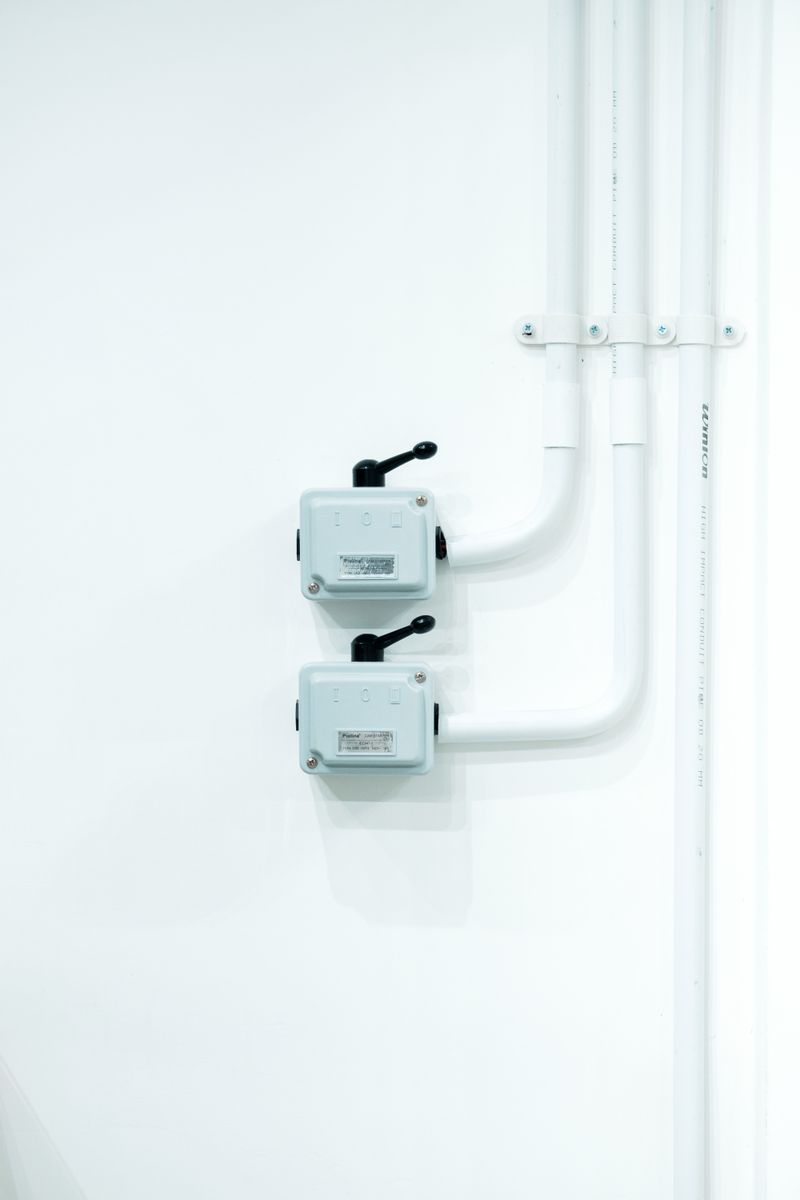
The choice between set screw and compression EMT fittings is often reduced to “set screw indoors, compression outdoors.” That shortcut can fail inspection. A compression nut does not automatically make a fitting raintight, and the fitting style alone does not prove it is suitable for concrete, corrosion, grounding, or a particular enclosure entry.
Quick answer: start with the location and the product listing. In ordinary dry work, either listed style may be appropriate. In a wet location, choose an exact connector or coupling identified for wet-location or raintight use. In masonry or concrete, confirm the exact concrete-tight rating and any taping instructions. Then check size, material, throat, bonding path, threads, wrench access, and conductor protection.
If EMT itself is still undecided, compare electrical conduit types first. This guide addresses only the fittings used to join EMT to an enclosure or to another length of EMT.
Set screw vs. compression at a glance
| Decision point | Set-screw fitting | Compression fitting |
|---|---|---|
| How it grips EMT | One or more screws bear on the tubing | A gland nut compresses a ring around the tubing |
| Common field advantage | Quick access with the specified screwdriver or driver | Circumferential grip with wrench flats on many models |
| Dry location | Suitable when the exact fitting is listed for EMT and the specification permits it | Suitable when the exact fitting is listed for EMT and the specification permits it |
| Damp location | Verify the product instructions, exposure, corrosion protection, and AHJ requirements | Do the same; ordinary compression construction alone does not prove a moisture rating |
| Wet location | Use only an exact product identified for the wet location | Use an exact wet-location or raintight model, including its required sealing parts |
| Masonry or concrete | Must carry the required concrete-tight identification and be installed as directed | Same rule; “compression” is not a substitute for the concrete-tight rating |
| Tool clearance | Needs access to each screw | Needs room for the specified wrenching of each gland nut |
Outdoor raceways exposed to weather are wet locations. A protected area may be damp instead, but condensation, washdown, enclosure type, and local amendments still matter. Have the AHJ, designer, or licensed electrician classify uncertain locations before ordering.
Why the exact listing matters
Current manufacturer catalogs show why appearance is unreliable. Eaton lists an ordinary Crouse-Hinds EMT family with set-screw and compression options, steel or zinc die-cast bodies, insulated or non-insulated versions, and a “concrete tight when taped” feature. Eaton publishes a separate raintight compression family with a gasketed compression ring, a gasket on a connector’s male threads, and distinct black gland nuts.
ABB makes the same distinction. Its ordinary zinc-alloy compression models are identified as concrete-tight, while its CI56-series “-WL” fittings use a steel body and locknut, neoprene gasket, nylon sealing ring, and a wet-location, concrete-tight, UL Listed raintight designation.
Those examples do not make black or blue nuts a universal code. Read the fitting and package markings, then verify the catalog number and instructions. UL Solutions identifies UL 514B as the standard used for EMT-only fittings, but a general UL mark is not by itself the same as a wet-location marking.
EMT fitting selection checklist
1. Classify the location
Write down whether each coupling and enclosure entry is in a dry, damp, wet, corrosive, washdown, or concrete-embedded condition.
The adopted NFPA 70 rules require EMT couplings and connectors to be made tight, concrete-buried fittings to be concrete-tight, and wet-location fittings to be identified for that use. Check the edition and amendments actually adopted locally rather than assuming the newest NEC edition governs the project.
2. Match the complete product identification
Confirm all of the following before purchase:
- EMT connector or EMT coupling, not a look-alike fitting for another raceway
- Exact EMT trade size and permitted size range
- Wet-location, raintight, or concrete-tight identification where required
- Steel, zinc die-cast, or other listed material appropriate to corrosion and project specifications
- Insulated or non-insulated throat as the design and conductor-protection rules require
- All factory sealing rings, gaskets, locknuts, and other parts shown in the instructions
Do not mix a fitting body with a ring, nut, gasket, or locknut from another model. A substitute part can invalidate the evaluated assembly.
3. Check the box entry and bonding path
A connector joins EMT to a box or enclosure; a coupling joins two EMT lengths. Verify that the connector’s male hub thread, gasket, and locknut suit the actual entry. Eaton identifies NPSM male hub threads on its ordinary EMT fittings. The Steel Tube Institute notes that EMT connectors designed to NEMA FB 1 may be used with intended straight or tapered threaded entries, but that does not remove the need to check the enclosure and fitting instructions.
The metal raceway system may serve as an equipment grounding path only when every connection is listed, mechanically secure, and electrically continuous under the adopted rules. Paint, corrosion, loose locknuts, impaired knockouts, and an unsuitable fitting can compromise that path. A project or AHJ may require an equipment grounding conductor, bonding bushing, or bonding jumper even where EMT continuity is otherwise permitted.
4. Plan tool and wrench access
Do not select a compression coupling that cannot be properly wrench-tightened after nearby piping, framing, or equipment is installed. Similarly, leave access to every set screw and orient it where the specified driver can seat fully.
Generic “tight enough” rules are not a substitute for instructions. The Steel Tube Institute notes that many compression glands reach securement after hand tightening plus one or two wrench turns, but designs vary. It also warns that a set screw offering both screwdriver and wrench heads should not receive the extra torque a wrench can apply. Use the fitting manufacturer’s torque or make-up direction whenever supplied.
5. Protect conductors at every cut and throat
Cut EMT square, remove sharp inside and outside burrs, and seat the tubing fully at the fitting stop. An insulated throat can add protection where specified, but it does not excuse a rough conduit end or replace a required bushing.
Before conductors are pulled, confirm the EMT conduit fill calculation and inspect every fitting for a displaced seal, missing part, damaged thread, or sharp edge. If the run still needs layout work, use the EMT bending guide without treating a fitting as a correction for a poorly aligned bend.
Field inspection before energizing
Use this short inspection sequence:
- Match each fitting’s catalog number and marking to the location schedule.
- Confirm EMT type, trade size, material, and insulated-throat selection.
- Check that tubing is fully seated, deburred, aligned, and supported.
- Verify set screws, gland nuts, connector threads, locknuts, gaskets, and any required tape against the instructions.
- Confirm the effective bonding and grounding path, including any specified jumper or grounding conductor.
- Check enclosure ratings, conductor protection, fill, and pull conditions.
- Record concealed or concrete-embedded joints before they are covered.
- Complete permit and inspection steps before energizing.
For concrete work, timing matters. The Steel Tube Institute says threadless fittings marked concrete-tight need adequate tape where embedded more than 24 inches or where a concrete vibrator will be used. Apply tape only after the fitting is assembled and secured, and follow the exact product and project requirements.
Safety and work boundaries
De-energize the circuit before touching an existing raceway or enclosure, lock out or otherwise secure the disconnecting means as the work requires, and verify absence of voltage with an appropriately rated tester using a proven test method. Stop for damaged conductors, heat, arcing, corrosion, water in equipment, uncertain sources, or an unverified grounding path.
Homeowners can use this guide to review a proposal or photograph visible markings. Installing or altering a raceway may require a permit, inspection, and licensed electrician. Do not open energized equipment or assume a metal raceway is safe because it appears grounded. Our electrical permits and inspections guide helps organize the local questions.
Next step: build a fitting schedule
Before buying, list each connector and coupling by location, trade size, material, catalog number, rating, throat, sealing parts, and required installation method. Give that schedule to the electrician, designer, or inspector with product data sheets for any wet or concealed location.
The deciding question is not simply set screw or compression. It is whether the exact listed fitting, installed with all required parts and instructions, suits the exact location and preserves a secure mechanical, bonding, and conductor-protection system.
Sources
- NFPA 70, National Electrical Code, especially the adopted edition’s EMT and enclosure requirements
- Eaton Crouse-Hinds standard EMT connectors and couplings
- Eaton Crouse-Hinds raintight EMT connectors and couplings
- ABB Iberville commercial-grade fittings catalog
- Steel Tube Institute fitting selection and assembly guide
- UL Solutions conduit and fitting certification overview

Amperage HQ Editorial Team
Independent trade-focused editorial team