Video Doorbell Installation Guide: Ring, Nest, and Wyze
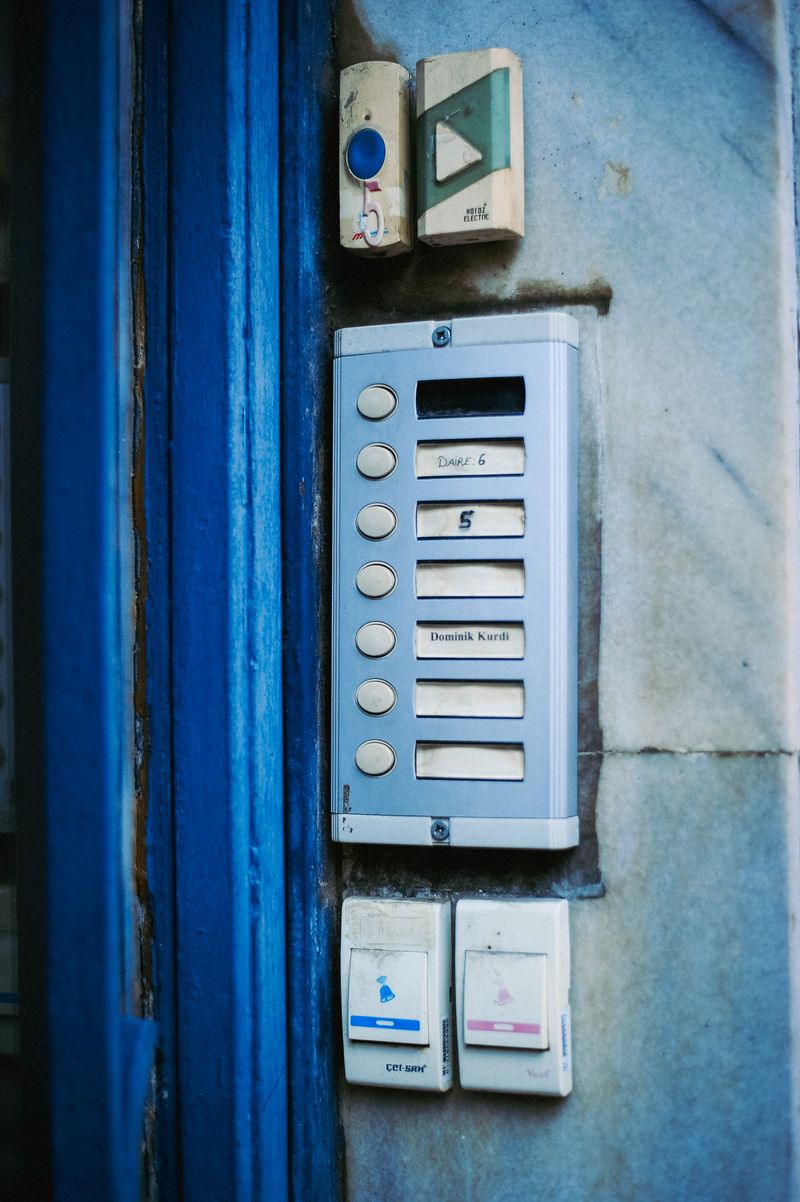
Video doorbells have become one of the most popular smart home devices — package theft prevention, visitor management, and security all in one device. Installing one is usually a Saturday project, but it involves more than just screwing a camera to your wall. This guide covers the complete installation process for the three most popular video doorbell brands.
Types of Video Doorbells
Wired Video Doorbells
Wired doorbells connect to your existing doorbell wiring (typically 16–24V AC from a transformer). They:
- Continuously power themselves — no battery charging needed
- Provide more reliable connectivity than battery-powered doorbells (no low-battery dropouts)
- Work with or replace your existing chime
- Require existing doorbell wiring or installation of a transformer
Battery-Powered Video Doorbells
Battery doorbells install anywhere — no existing wiring required. They:
- Can go where there’s no existing doorbell wiring
- Must be recharged periodically (every 1–3 months depending on traffic volume)
- May have variable performance in extreme temperatures
This guide focuses primarily on wired installation, which involves the most electrical considerations.
Understanding Your Existing Doorbell Wiring
Before purchasing, assess your existing doorbell system.
The Transformer
Your doorbell transformer is the key compatibility factor. It’s usually found:
- Mounted to a junction box in the basement, utility room, or attic
- Attached to a breaker panel
- In a hallway ceiling near the existing chime
- In the attic above the front door area
Finding the transformer: Follow the doorbell wire from the chime or press button backward toward the power source. In homes with no previous doorbell or an existing wireless doorbell, there may be no transformer.
Checking transformer voltage and VA: A label on the transformer shows its output voltage (typically 16V or 24V AC) and power rating in VA (typically 10–30 VA). Video doorbells are more power-hungry than simple mechanical doorbells — they require adequate transformer capacity.
Video doorbell transformer requirements:
- Ring Video Doorbell (wired): 16–24V AC, 10–40 VA (varies by model)
- Google Nest Doorbell (wired): 16–24V AC, 10 VA minimum (20 VA recommended)
- Wyze Video Doorbell Pro: 16–24V AC, 10 VA minimum
Most old mechanical doorbell transformers are rated only 10 VA — often inadequate for video doorbells that run continuously. If your transformer is original equipment from the 1990s or earlier, budget for a replacement.
Recommended transformer: Newhouse Hardware ST-50 (16V, 30 VA) or Ding Dong 16VAC 30VA transformer — both widely available at hardware stores and online for $15–$25.
Testing Transformer Output
Use a multimeter set to AC voltage:
- Locate the transformer’s output terminals
- Touch probes to the two output screws (not the 120V input side)
- Should read 16–24V AC with nothing connected
If you read significantly less (under 14V), the transformer is either failing or undersized for the load.
Step-by-Step: Wired Video Doorbell Installation
Tools Needed
- Phillips screwdriver
- Flathead screwdriver
- Drill with 1/8” bit and anchors (for masonry)
- Non-contact voltage tester
- Multimeter
- Smartphone (for app setup)
- Optional: mounting level
Step 1: Turn Off Power
Locate the circuit breaker for the doorbell transformer (typically a small 15A or 20A breaker serving a lighting circuit). Turn it off. Verify the doorbell doesn’t chime when pressed and verify with a multimeter that the transformer output shows 0V AC.
Step 2: Assess the Existing Doorbell System
Identify whether you have an existing push-button at the door location with wiring running back to a chime and transformer. Verify the wire condition — insulation should be intact, no fraying or breaks.
Step 3: Check or Upgrade the Transformer
If the transformer is rated less than 16V or less than 16 VA:
- Turn off the circuit breaker for the transformer (verify with a multimeter)
- Remove the old transformer — it’s connected to line voltage via wire nuts in a junction box, plus two low-voltage output terminals
- Install the new transformer in the same junction box — connect the line-voltage wires (black to black, white to white, ground to ground) and route the low-voltage leads to the same destinations as the old transformer’s leads
- Restore power and verify the new transformer output voltage
Step 4: Remove the Old Push Button
Unscrew the existing push button from the wall. There will be two wires attached — mark them (either can be either terminal) and disconnect.
Step 5: Install the Video Doorbell Mounting Bracket
Most video doorbells come with a mounting bracket, screws, and anchors for masonry. Drill anchor holes and mount the bracket. Many doorbells also include angled mounting wedges for placing the camera at a horizontal angle when the doorbell position is not optimal for the camera field of view.
Step 6: Connect the Doorbell Wires
Connect the two doorbell wires to the video doorbell’s terminals. Polarity doesn’t matter for 24V AC — either wire to either terminal.
Ensure wires are secured firmly. Loose connections cause flickering power and unreliable operation.
Step 7: Mount and Power Up
Attach the video doorbell to the bracket (usually clips or screws). Restore power by turning the circuit breaker back on.
Step 8: App Setup
Download the manufacturer’s app and follow in-app instructions:
- Connect the doorbell to your Wi-Fi network (2.4 GHz is more reliable than 5 GHz for doorbells)
- Configure motion sensitivity zones
- Configure alert preferences
- Set up integration with existing chime (if applicable) or the doorbell’s own chime
Chime Integration
Mechanical Chimes (Ding-Dong)
Most wired doorbells work with existing mechanical (electromechanical) chimes. The doorbell connects in series with the chime and transformer — pressing the button completes the circuit, the chime sounds, and simultaneously the video doorbell’s firmware confirms the press.
Many video doorbells include a chime bypass resistor to prevent the existing mechanical chime from buzzing or chattering when the video doorbell is in standby mode (drawing a small continuous current). Install the bypass resistor across the chime terminals as shown in the manufacturer’s instructions.
Digital Chimes
Some manufacturers’ digital chimes are compatible with video doorbells — Ring Chime Pro, Nest Chime. These plug into a standard outlet and connect to the video doorbell over Wi-Fi rather than through wiring.
Existing Digital Chimes (Third-Party)
Many modern electronic chimes (Hampton Bay, NuTone digital chimes) are incompatible with video doorbells because the electronic circuit doesn’t respond correctly to the video doorbell’s power draw. If your existing digital chime doesn’t work after installation, you’ll need to either use the manufacturer’s companion chime or set the doorbell to notify via smartphone only.
Brand-Specific Installation Notes
Ring Video Doorbell Pro 2
The Ring Pro 2 is Ring’s premium wired doorbell with 3D motion detection and Head-to-Toe video. It requires:
- 16–24V AC transformer
- Minimum 30 VA transformer (10W minimum draw)
- Ring Chime or Ring Pro Power Kit for mechanical chime compatibility
Ring Pro Power Kit: A small device that installs inside the chime to regulate power and enable chime compatibility. Required for most mechanical chimes — don’t skip it.
Key features: 3D motion detection, HD+ video, two-way audio, pre-roll video capture
Price: ~$230
Google Nest Doorbell (Wired, 2nd Gen)
Nest’s wired doorbell has a distinctive design and deep Google Home integration. Requirements:
- 16–24V AC, minimum 10 VA (20 VA recommended for best performance)
- Nest app for setup and monitoring
Chime compatibility: Works with most wired mechanical chimes. An in-chime connector is provided for compatible chimes. Incompatible with most third-party digital chimes.
Key features: Familiar faces recognition, HDR video, package detection, Google Home and Alexa integration
Price: ~$180
Wyze Video Doorbell Pro
Wyze’s Pro doorbell is an excellent value option with a wide-angle lens and competitive features. Requirements:
- 16–24V AC (note: original Wyze Doorbell required exactly 16V — the Pro is more flexible)
- Wyze Chime or existing compatible chime
Key features: 2K camera, wide field of view, motion detection, Alexa and Google Home compatible, Wyze subscription optional
Price: ~$100
Troubleshooting Common Video Doorbell Issues
Doorbell Offline Frequently
Possible causes:
- Wi-Fi signal too weak at doorbell location
- Transformer inadequate (low voltage causing reboots)
- Wi-Fi router too far
Solutions:
- Check transformer voltage under load (should remain above 14V when doorbell is actively streaming)
- Replace transformer with a higher-VA rated unit
- Add a Wi-Fi extender or mesh node near the front door
Chime Buzzes or Chatters
The video doorbell draws a small continuous current that some mechanical chimes interpret as repeated button presses.
Solution: Install the chime bypass resistor (usually included with the doorbell) across the chime terminals. This provides a path for the standby current that bypasses the chime mechanism.
Poor Night Vision
Infrared night vision is blocked by glass — if the doorbell is behind a screen door or glass storm door, night vision will be significantly reduced.
Solution: Mount the doorbell on the exterior side of any glass or screen. If that’s not possible, consider a doorbell with spotlight instead of IR night vision.
No Chime Sound After Installation
Check that the existing chime is compatible with video doorbells (mechanical chimes generally are; third-party digital chimes may not be). If using an incompatible chime, use the manufacturer’s companion chime unit or rely on app notifications.
Security and Privacy Considerations
Local Storage vs Cloud
Most video doorbells store video in the cloud behind a subscription. If privacy is a concern:
- Eufy Video Doorbell: Stores video locally on a home base station, no cloud subscription required
- Amcrest Video Doorbell: Supports local recording to NAS or SD card
End-to-End Encryption
Not all video doorbells encrypt footage in transit or at rest. Review the manufacturer’s security documentation if this matters for your use case.
Local Network Access
Some video doorbells work on a local network even without internet connectivity (particularly useful if you have a local NVR setup). Most mainstream consumer doorbells require cloud connectivity for most features.
Video doorbell installation is approachable for most homeowners, with the transformer being the most common stumbling block. Invest in a proper transformer (at least 30 VA for most video doorbells), follow the app’s setup process carefully, and configure motion zones to minimize false alerts from passing cars or tree movement.

Amperage HQ Editorial Team
Independent trade-focused editorial team