How to Wire a Standard 15-Amp Outlet
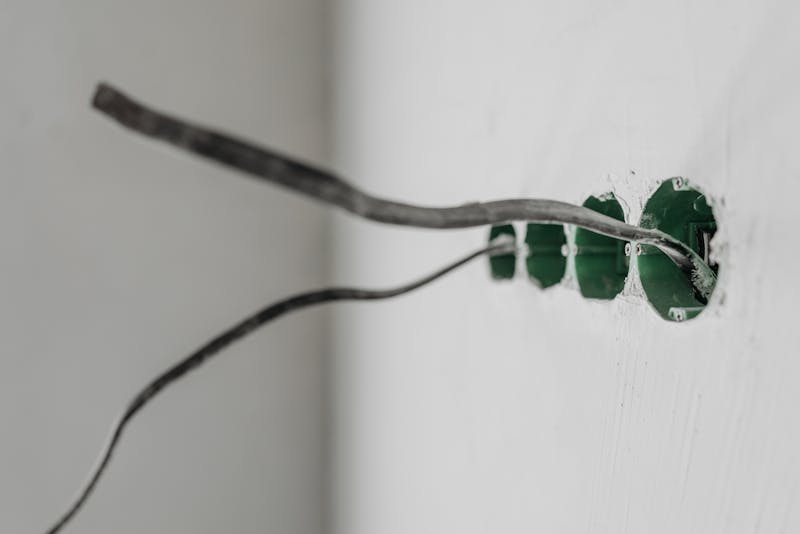
Replacing a worn outlet or installing a new one is one of the most common electrical tasks homeowners and apprentice electricians encounter. Done correctly, it takes 15–30 minutes. Done incorrectly, it creates a fire or shock hazard. This guide walks you through the entire process safely.
Safety First: Turn Off the Circuit
Before touching any wiring, cut power at the breaker panel. Turn off the circuit breaker for the outlet you’re working on, then verify the circuit is dead with a non-contact voltage tester or multimeter before touching any wires.
Never assume a breaker label is accurate. Always test.
- Turn off the breaker
- Insert voltage tester probes into both slots of the outlet
- Confirm no voltage reading
- Test again at the terminals once the cover plate is removed
Tools and Materials You’ll Need
- Non-contact voltage tester
- Flathead and Phillips screwdrivers
- Needle-nose pliers
- Wire stripper
- New 15A duplex outlet (NEMA 5-15R)
- Outlet cover plate
- Optional: electrical tape
Step 1: Remove the Old Outlet
With power confirmed off, remove the cover plate screw and set it aside. Unscrew the two mounting screws holding the outlet to the electrical box, and gently pull the outlet forward. The wires will have some slack — work carefully to avoid pulling them loose.
Take a photo of the existing wiring before disconnecting anything. This is your reference if you lose track of which wire goes where.
Step 2: Identify Your Wires
A standard 15-amp outlet in a residential circuit will have three wires:
| Wire | Colour (US) | Terminal |
|---|---|---|
| Hot | Black | Brass (gold) screw |
| Neutral | White | Silver screw |
| Ground | Bare copper or green | Green screw |
If you have an older home with only two wires (no ground), see the note at the end of this article.
Step 3: Disconnect the Old Outlet
Loosen the terminal screws on the old outlet and remove each wire. If the wires are backstabbed (inserted into the push-in terminals at the rear), use a small flathead screwdriver in the release slot to free them. Never re-use backstab connections — they are a known failure point. Always use the screw terminals on the new outlet.
Step 4: Prepare the Wires
Each wire should have about ¾ inch of insulation stripped at the end. If the insulation is intact and the bare copper is clean, you’re ready to connect. If the wire ends are nicked, corroded, or too short, strip a fresh section with your wire stripper.
Avoid nicking the copper conductor when stripping — a nick creates a weak point that can overheat under load.
Step 5: Connect the New Outlet
Attach the wires to the correct terminals, working one wire at a time:
- Ground (bare/green) → Green screw. Wrap clockwise around the screw shank and tighten firmly.
- Neutral (white) → Silver screw. Same technique.
- Hot (black) → Brass screw. Same technique.
The clockwise wrap ensures the wire tightens against the screw as you fasten it, rather than being pushed out. Tug each wire after tightening to confirm it’s secure.
Step 6: Fold Wires and Mount the Outlet
Gently fold the wires accordion-style into the electrical box. Press the outlet flat and align it so it’s level, then tighten the two mounting screws. Do not overtighten — you can crack the yoke.
Attach the cover plate and tighten its centre screw.
Step 7: Restore Power and Test
Turn the breaker back on. Use your voltage tester or a plug-in outlet tester (a $10 tool every electrician should own) to verify:
- Correct hot/neutral polarity
- Ground present and connected
- No wiring faults
An outlet tester with indicator lights will show you at a glance if wiring is correct. If it shows a fault, cut power again and recheck your connections.
What If There’s No Ground Wire?
Older homes (pre-1960s) may have two-wire circuits with no ground. Your options:
- Install a GFCI outlet at the first outlet on the circuit and label downstream outlets “No Equipment Ground.” This is NEC-compliant and provides shock protection.
- Run a new grounded circuit from the panel — this is the best long-term solution for rooms with computers, appliances, or medical equipment.
Do not install a three-prong outlet on an ungrounded circuit without one of the above measures. The ground pin will be non-functional and misleading.
Code and Safety Checkpoints
| Checkpoint | Why it matters |
|---|---|
| Circuit amperage | 15-amp and 20-amp receptacle rules depend on the circuit layout; wire size and the complete installation must match the breaker |
| Box fill | Too many conductors in a small box can overheat and make safe folding impossible |
| Grounding path | The green screw or grounding clip must bond the device and metal box, if present |
| GFCI/AFCI needs | Kitchens, bathrooms, garages, outdoors, basements, and many living areas may require added protection |
| Tamper resistance | Most dwelling receptacle replacements should use tamper-resistant devices |
OSHA electrical safety standards emphasize de-energizing exposed live parts before work whenever feasible. For a homeowner, that means turning off the breaker, locking or warning others not to turn it back on, and testing before touching any conductor.
When to Stop and Call an Electrician
- The box has aluminum branch-circuit wiring
- You find burned insulation or melted device parts
- The breaker trips after replacement
- The outlet is part of a multi-wire branch circuit and you are not sure how the shared neutral is handled
- The box is overcrowded or too shallow for the new device
Final Verification Sequence
After the device is mounted but before you push furniture back:
- Restore power and test with a plug-in receptacle tester.
- Press the tester’s GFCI button if the outlet is GFCI protected.
- Plug in a small lamp or load to confirm the receptacle works under use.
- Turn the breaker off again and confirm the tester goes dark.
- Reinstall the cover plate and make sure the device sits flush without stress.
If any test result is inconsistent, stop and re-open the box with power off. Do not assume a mystery tester reading is “close enough.”
Common Mistakes to Avoid
- Reversing hot and neutral — always double-check wire colours and terminal colours
- Using backstab terminals — use screw terminals only
- Over-stripping wires — exposed conductor outside the terminal is a shock and short-circuit hazard
- Forgetting to test — always verify with a tester before calling the job done
- Not turning off power — the most dangerous mistake of all
Outlet replacement is a foundational skill. Master the process here and you’ll have the confidence to handle more complex receptacle work — GFCI installation, 20-amp circuits, and tamper-resistant outlets — with the same systematic approach.
See Also
- Two-prong outlet upgrade options — compare a like-for-like replacement, labeled GFCI protection, a real grounding conductor, and circuit rewiring
- GFCI and AFCI outlet installation — the logical next step after mastering standard outlets; covers LINE vs. LOAD wiring and where protection is required by code
- Running new circuits — when an outlet doesn’t exist yet and you need to install one from scratch, this guide covers the full process
- Wire gauge and ampacity guide — understand why 15A circuits use 14 AWG and 20A circuits use 12 AWG, and how to identify what your circuit requires If an existing receptacle is warm, hot, loose, discoloured, or smells burnt, stop before treating it as a routine replacement and follow the hot-outlet safety triage.

Amperage HQ Editorial Team
Independent trade-focused editorial team