Home EV Charger Installation: What You Need to Know
Quick answer
A home EV charger should be sized to the electrical service, panel capacity, circuit rating, vehicle needs, and charging schedule. The fastest charger is not always the best choice if it forces expensive service upgrades.
Common questions
- Do all EV chargers need a panel upgrade?
- No. Many homes can support a properly sized Level 2 circuit, especially with load management or a lower amperage setting. A load calculation decides what is realistic.
- Hardwired or plug-in EV charger?
- Hardwired chargers can be cleaner and may support higher ratings. Plug-in chargers are easier to replace, but the receptacle, GFCI requirements, enclosure, and duty rating must be handled correctly.
Source note: Reviewed July 2026 against the article guidance and common residential electrical safety practice; local code, permits, and a licensed electrician should control final wiring work.
Electric vehicles are becoming mainstream, and home charging is by far the most convenient way to keep your EV charged. Most EV owners charge primarily at home overnight — if your garage or driveway has access to your electrical panel, a home Level 2 charger is a worthwhile investment. This guide covers everything from charger types to circuit sizing to the actual installation process.
Level 1 vs. Level 2 Charging
Level 1 charging uses a standard 120V outlet. The charger that came with your vehicle plugs into any standard outlet and trickle-charges the battery at 3–5 miles of range per hour. It’s fine for plug-in hybrids with small batteries, but most battery-electric vehicles with large battery packs need 24–48 hours to fully charge on Level 1 — not practical for daily use.
Level 2 charging uses 240V and delivers 15–30 miles of range per hour, depending on the charger and vehicle. A fully depleted 80 kWh battery takes 8–12 hours on a good Level 2 charger — overnight charging restores full range every day.
For battery-electric vehicles, Level 2 charging at home is essentially required for practical daily use.
Choosing an EV Charger (EVSE)
EVSE stands for Electric Vehicle Supply Equipment — the technical name for what most people call a charger. (The actual charger is inside the vehicle; the EVSE supplies AC power to it.)
Key Specifications
- Amperage: Most home EVSEs range from 16A to 80A. Your vehicle determines the maximum it can accept — most current EVs have onboard chargers rated 7.2 kW to 19.2 kW (30A to 80A at 240V). A 48A EVSE (11.5 kW) is a good all-around choice for most vehicles.
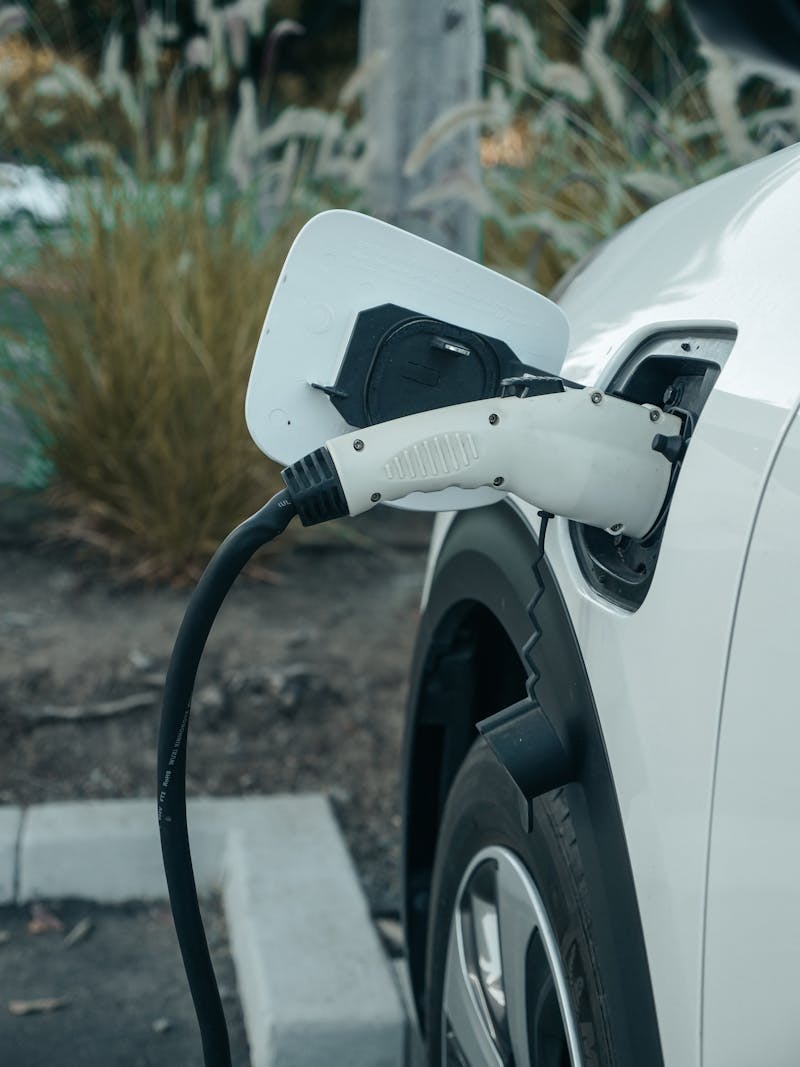
- Connector type: North American EVs (except older Teslas and some commercial vehicles) use the J1772 connector for AC charging. Tesla vehicles use their proprietary connector but come with a J1772 adapter. Check your vehicle’s manual.
- Plug-in vs. hardwired: Some EVSEs plug into a 14-50 or 6-50 outlet; others hardwire directly to a circuit. Plug-in units are more portable (useful if you move); hardwired units are slightly more reliable and are required by some manufacturers for higher-amperage units.
- Smart features: Wi-Fi connectivity, scheduling, energy monitoring, and utility rate integration are available on premium units. Useful but not required.
- Indoor vs. outdoor rating: If your charger will be exposed to weather (driveway, carport, exterior garage wall), verify it’s rated for outdoor installation.
Circuit Sizing
The circuit must be sized to 125% of the continuous load — EVSE is a continuous load by definition.
Formula: Circuit breaker size = EVSE amperage × 1.25
| EVSE Amperage | Min. Breaker Size | Minimum Wire Gauge (Copper) |
|---|---|---|
| 16A | 20A | 12 AWG |
| 24A | 30A | 10 AWG |
| 32A | 40A | 8 AWG |
| 40A | 50A | 6 AWG |
| 48A | 60A | 4 AWG |
| 64A | 80A | 3 AWG |
For a 48A EVSE (the most common “fast” home charger size), you’ll need a 60A double-pole breaker and 4 AWG copper wire (or 2 AWG aluminum, which is acceptable for this application and less expensive).
Outlet Types for Plug-In EVSEs
- NEMA 14-50: 50A outlet (used with a 50A breaker and 6 AWG wire) — accepts 40A EVSE devices. The most common RV and EV outlet.
- NEMA 6-50: Similar rating but no neutral — suitable for loads that don’t need neutral
- NEMA 14-30: 30A outlet (for lower-amperage units)
Panel Capacity Considerations
Before adding a 60A EV charger circuit, verify your panel has the capacity:
- Available panel space: You need two adjacent slots for a double-pole breaker
- Panel amperage: A 100A panel can support EV charging, but only if other loads allow it. Run a load calculation (see NEC Article 220 or use an online calculator) to verify you won’t overload the service
- Load management: Some smart EVSEs and utility programs support demand management — automatically reducing charging rate during peak household loads or high-rate periods. This can allow EV charging on a smaller service.
If your panel is full or at capacity, options include:
- Panel upgrade to 200A: The clean long-term solution
- Load management EVSE: Devices that monitor your main panel current and reduce EV charging to stay under a set threshold
- Tandem breakers: If your panel supports them, free up space for a double-pole breaker
The Installation Process
What You’ll Need
- 60A double-pole breaker (or appropriate size for your EVSE)
- 4 AWG copper wire or equivalent (or aluminum with proper connectors)
- Conduit (if running exposed in garage)
- NEMA 14-50 outlet or hardwired connection box
- EVSE unit
Step 1: Plan the Route
Identify the shortest practical path from your panel to the charging location. In most attached garages, this is a short run — 15 to 30 feet is typical. Unattached garages require underground wiring (see the outdoor wiring guide for underground requirements).
Step 2: Pull the Permit
EV charger circuits almost always require a permit. The inspection is typically quick — an inspector verifies the circuit is correctly sized and installed. Do not skip this step. Some utility rebate programs (and EV tax credits) require permit documentation.
Step 3: Run the Wire
Run conduit (EMT or PVC) from the panel to the outlet location. Pull 4 AWG THHN conductors (two hots, one neutral, one ground for a 14-50 outlet; two hots and one ground for hardwired units) through the conduit. Secure conduit every 10 feet and within 3 feet of each box.
Step 4: Install the Outlet or EVSE
For a plug-in EVSE:
- Install the outlet box and NEMA 14-50 outlet
- Connect black and red to the hot terminals (brass screws), white to neutral (silver screw), green/bare to ground
For a hardwired EVSE:
- Mount the EVSE to the wall at a height where the cord will comfortably reach your vehicle’s charge port
- Connect conductors per the manufacturer’s instructions — typically two hots and a ground; some include a neutral
Step 5: Land the Circuit in the Panel
Turn off the main breaker. Install the double-pole breaker and connect the conductors:
- Two hot wires to the breaker’s load terminals
- Neutral (if present) to the neutral bar
- Ground to the ground bar
Label the breaker clearly: “EV Charger” with the amperage.
Step 6: Test
Restore power. Plug in (or connect) the EVSE and verify it energizes. Connect your vehicle and verify charging begins. Monitor the first few charges to confirm the circuit remains cool and the breaker doesn’t trip.
Future-Proofing Your Installation
If you’re installing conduit now, consider running a larger conduit than your current EVSE requires. Upgrading from a 48A to a 80A charger later is much easier if you have a 1.5” conduit in place — you just pull new conductors.
Similarly, if you have two EVs (or plan to), installing a second circuit roughed-in with conduit is far cheaper to do during the initial installation than returning later.
Home EV charging is one of the most practical electrical upgrades available — it pays for itself quickly in convenience, reduced public charging costs, and lower per-mile fuel costs for EV drivers.
2026 decision refresh
Quick decision: choose the charging speed your electrical service can support safely, not the largest EVSE on the shelf. For many homes, a 32A or 40A Level 2 charger is enough for overnight charging and may avoid a panel upgrade.
| Charging setup | Circuit implication | Best fit |
|---|---|---|
| Level 1, 120V | Existing dedicated receptacle preferred | Low daily mileage or plug-in hybrid |
| 24A Level 2 | 30A circuit | Smaller panels or modest daily mileage |
| 32A Level 2 | 40A circuit | Common balance of speed and cost |
| 40A Level 2 | 50A circuit | Plug-in units with NEMA 14-50 or 6-50 |
| 48A Level 2 | 60A hardwired circuit | Faster home charging when load calculation supports it |
Source note: DOE’s Alternative Fuels Data Center describes Level 2 as 240V home charging, and NEC-based installations treat EV charging as a continuous load. A licensed electrician should perform the load calculation, select conductors and overcurrent protection, and confirm local permit requirements.
Related tool and guides
- Licensed electrician handoff checklist - organize vehicle, charger, panel, parking, and permit details before the electrician visit.
- Understanding 240V split-phase power - useful background for Level 2 charging.
- Electrical panel upgrade cost - compare charger-only and service-upgrade scenarios.
- Wire gauge and ampacity guide - understand why breaker size and wire size must match.
See Also
- Panel upgrades and load calculations — before adding a 60A EV charger circuit, verify your panel has both the physical space and the amperage headroom
- Wire gauge and ampacity guide — EV chargers are continuous loads; this guide explains the 125% sizing rule and the correct conductor for every charger amperage
- Running new circuits — the EV charger circuit follows the same process as any new circuit; this guide covers routing wire, pulling permits, and landing at the panel
Prepare for the EV charger estimate
Use these related resources to organize charging goals, panel details, load calculations, permits, and safe electrician questions.
- EV charger and panel-load worksheet
Fill in vehicle, parking, panel, major-load, and quote-comparison notes before the visit.
- House rewiring cost guide
Understand when charger work connects to broader rewiring or service upgrades.
- Wire gauge and ampacity guide
Use the guide as background for code-compliant conductor and circuit discussions.
- Panel upgrades and load calculations
Review why load calculations matter before choosing charger amperage.

Amperage HQ Editorial Team
Independent trade-focused editorial team